One of the most cutting-edge tools available for leveling and aligning various surfaces is a laser level. Construction and surveying sites are the most common settings for applying laser levels. On construction sites, laser levels are an instrument of critical significance. Construction workers can level various surfaces by employing a laser beam sent in straight lines from their device.
One of the most important applications for laser levels is to provide your projects with a certain form that is straight-lined. Many people decorate their rooms. When creating a space, individuals frequently have to square their room.
This is done simultaneously. When it comes to this topic, most individuals do not understand how to use a laser level to square off a space. Using a laser level is one of the topics covered in this essay.
What Exactly is a Laser Level?

Using a laser detector that is either handmade or portable, laser leveling is a method for constructing a flat and even surface. Lasers are utilized in this technique to transmit short horizontals and verticals across a smooth surface.
You might, for instance, use the approach to guarantee that bricks are put out absolutely level over the entirety of a wall. You could also use a paintball gun directed by a laser to paint the door jambs.
Before you begin to level anything, you need to ensure that the surface is already flat enough to sustain your weight and anything else you intend to create.
Also, when you are using the laser level, you should make sure that no one passes above and behind your work area at any time. If there is any illumination in the room that the laser dot may potentially interfere with, you should turn it off.
Step by Step Guide Tutorial on How to Use a Laser Level to Square a Room:
Step 1: Making Preparations with the Laser Level
First things first, make sure that your desk is clean and organized. If there isn’t one already, please look for one and tidy it up. This will be your primary working area during the entirety of this procedure, and it will remain so until we get the wall squared off and leveled so that we can begin marking things out.
As soon as you’ve determined that everything is in order, it would help if you charged the batteries in your laser level square and connected it. The last thing that any of us want is the project to be unsuccessful just because the laser decided to give up on us at the last possible moment.
Step 2: Making Preparations for Your Walls
We need to make sure that our walls are level and prepared. This particular step might be challenging because you need to check that all walls are level before you mark anything up. This will be helpful for us in getting the laser all set up as well as putting everything else in order.
The first thing that we will do is get one of our walls squared up; you may choose the wall you like, but I typically begin with the longest one. It will be the longest wall within the room or the entire construction in your particular scenario.
You should next set down one of the level lines when you have determined which wall you want to position the laser on. Begin by getting this line as close to perfect as possible; this will make it much easier for us when you need to get things correct! When you have reached the point where you are satisfied with the line, go on and mark it to locate it again later.
Step 3: Preparing the Laser for Use
Now that we’ve got that out of the way, it’s time to set up your laser level, which is where things may get a little bit hard. First, you need to make sure that the laser point detector points exactly down the walls. You do not want it pointing off-center because this would throw everything out of whack and lead to mistakes inside our project.
How Does One Use a Laser to Square off a Building?
It will be much simpler for you to square a structure now that you are familiar with using a laser level to measure the square footage of a room. The method is pretty comparable to the one we have been through; however, it will be carried out on a much bigger scale and include additional phases for leveling.
The following describes how to square a structure using a laser level.
Step 1: Make the Ground Level
Because you are working on loose ground, there is a good probability that there will be low spots and high points on the surface, which might result in a slope and throw off your readings. Therefore, try your best to make the ground you’re working on as level as possible. The higher portions should be dug down, and the shallower regions should be filled up.
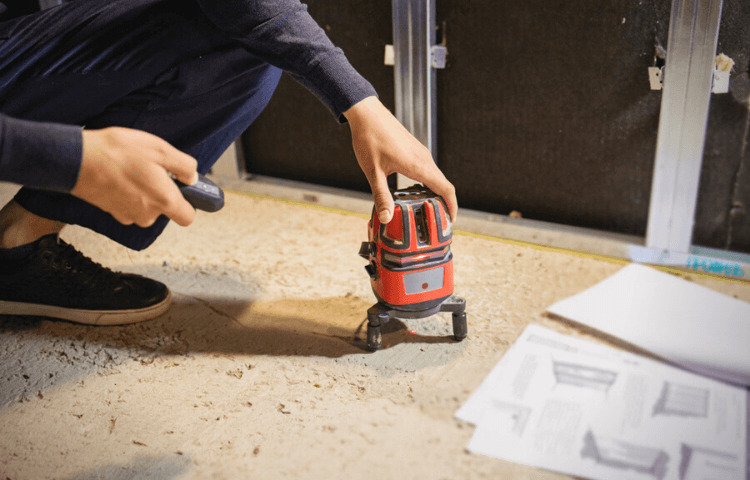
Step 2: Raise the Level of the Laser
Your laser level should be set up on a dry, solid surface and level. For the laser level to emit a straight beam, the legs of the tripod need to be spread out at an equal distance from each other.
Step 3: Indicating the Boundary of the Building’s Exterior Space
Position your laser level in a corner, carefully following the specifications outlined in your floor design. We suggest beginning with the side that is the longest and working your way down to the sides that are the shortest.
Please turn on your laser level once you have set it to point at the first corner. It should be able to cast a beam perpendicular to the ground to the next corner that is right in front of it. Using rope and wooden pegs, note your progress as you move down this straight line.
Step 4: Repeat
Now, repeat these procedures with each side by the floor plan you created earlier. When marking the areas with the stakes, make sure you use multiples of four on each side.
This indicates that you should use four or more on the tiniest edges and eight, twelve, sixteen, or even more on the largest sides. Be consistent with the distance that separates each stake so that it will be simpler to measure later on.
Optimal results with a laser level can only be obtained when paired with an excellent tripod. For expert insights into the best tripods for your laser level, we refer to this blog.
How Do Laser Levels Get Their Readings?
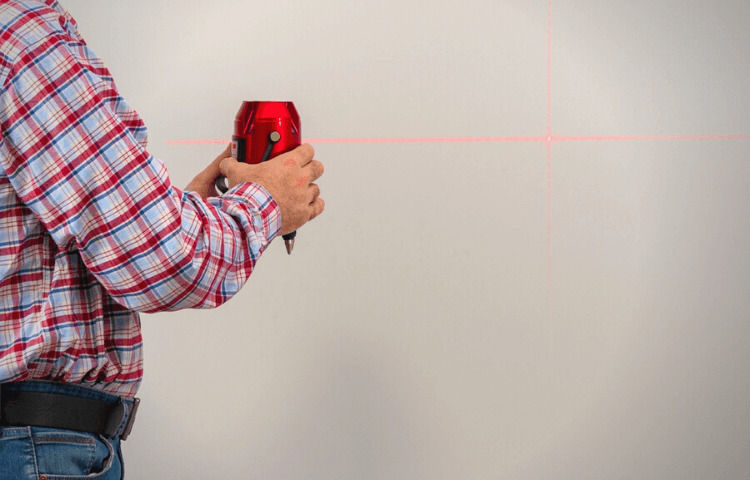
A laser level works by shining a laser beam onto the measuring surface. This makes it possible for you to see precisely where the level is showing, independent of any obstructions or interference that might be present in the area you are working. Because the beams are transmitted through the laser-shine glass, they may be seen.
Because they utilize numerous beams set at a crisp 90-degree angle to offer 360-degree angle coverage, these levels provide an incredibly precise angle reading. Suppose you are familiar with the inner workings of a laser level. In that case, you will better understand the advantages and drawbacks of using one and the skills necessary to do it correctly.
Frequently Asked Questions:
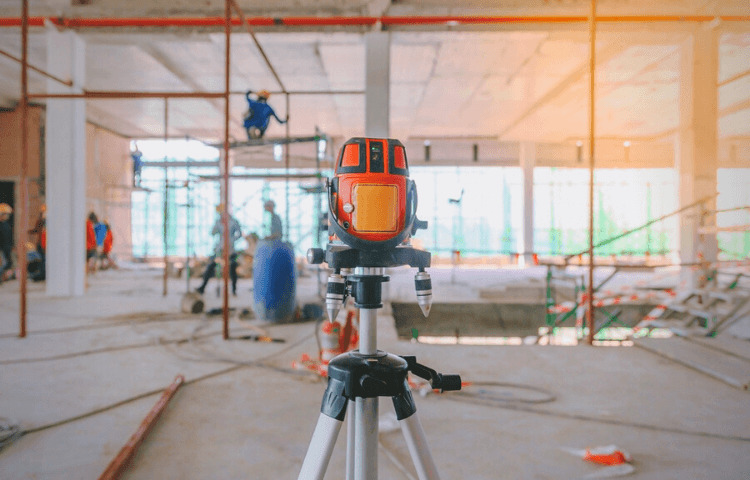
Is a tripod required for a laser level to be used?
Yes, a laser level must be set on a tripod to function properly. A tripod provides you with more stability, leading to improved measurement accuracy. Many laser levels are sold with tripod supports; even if the tripod is not provided, the laser level can be used in conjunction with a tripod.
Is there an advantage to using a laser level?
Utilizing a laser level is quite advantageous in many different ways. A laser level allows for more precision in a shorter amount of time. As a result, the laser level’s ability to cut down on the labor required may be operated by a single person working alone.
How do you get a laser level perpendicular to the wall?
Make use of a laser level with a green line that features intersecting lines in the horizontal and vertical planes. The laser level will automatically level itself and provide you with exact measurements to squarely position your wall. Before placing your laser level on the ground, check that it is stable and level.
How do you use a laser Square?
After turning on the laser square, you will notice that it projects two horizontal beams that are perpendicular to one another at an angle of ninety degrees. This makes it easier to discover the corner points of a room, which is helpful when trying to square it off.
How do you get a laser level perpendicular to the wall?
In the first step, use the laser level to draw wall lines on your floor. After that, transfer the measurements onto the bottom of the floor joist utilizing the vertical beam of the laser level.
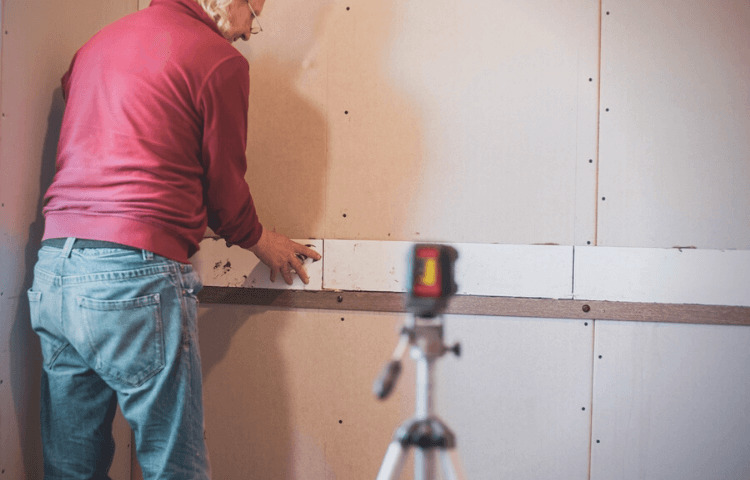
What are the steps involved in using a laser level indoors?
Inside, a laser level can be used in the same way as it would be used outside. The laser level lines should be lucid and dazzling because there is no sunshine to cause the beams to become less visible.
Is It Possible to Use a Laser Level During the Day?
One of the instruments that may be utilized to determine the height of an object is a laser level. It achieves high accuracy and precision in measuring by employing a light beam.
However, you cannot use this instrument during the daytime since direct exposure to daylight will compromise the instrument’s ability to provide accurate readings and cause inaccuracies.
Conclusion:
When it comes to the fundamentals of using a laser level to square off a space, you now have all the information you want. In conclusion, the method of squaring that yields the greatest results is one in which the measurements are meticulously documented. Therefore, take your time with the procedure and repeat the tests if necessary. It is preferable to take time with a project than rush through it and muck it up.

