There is no more effective approach than having a design laser etched onto your guitar when it comes to giving your instrument a more personal touch. Laser engraving is the perfect method to leave your imprint on your device, whether you want to add the emblem of your favorite band or simply your name.
In addition, laser engraving is an excellent method for safeguarding your investment. If you engrave your name or a logo onto your guitar, you can locate it quickly and easily if it is ever misplaced or stolen. Therefore, not only will you be able to flaunt your one-of-a-kind style, but you will also have the satisfaction of knowing that your instrument is secure and won’t be damaged in any way.
There is no better method than laser engraving to create a unique guitar for its owner than this one. It is the ideal method for giving your instrument a touch of your unique personality.
Can you Engrave a Guitar?
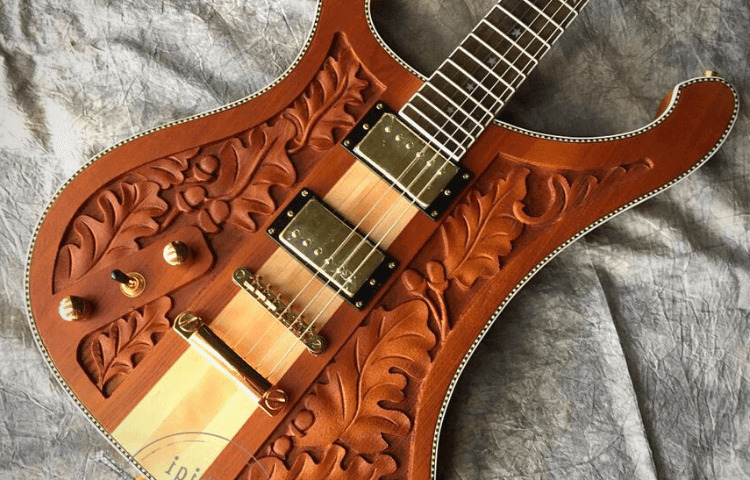
Yes, you can engrave a guitar. You can use many materials, such as metal, plastic, or wood, to accomplish this task. To obtain the most outstanding results, you’ll need to have a steady hand and utilize a tool that’s in good shape. The addition of an engraved design to your guitar not only gives it a one-of-a-kind look but also serves as a fantastic opportunity to exhibit your individuality. That being said, go ahead and give it a go!
How to Laser Engraved Guitar: Step-by-Step Guide
Laser engraving is an excellent choice to give your guitar a more individual appearance. You can essentially engrave whatever you want into your guitar, from your name or initials to a favorite statement or design you’ve found online.
And the most significant thing is that it’s not hard to do! Within the following paragraphs, we will walk you through the process of laser engraving your guitar in just a few easy steps.
It is time to get started now that you have both your guitar and the engraving equipment in your possession. The following is an in-depth walkthrough that will teach you how to laser engrave your guitar.

1. Choose your Design. This is the most enjoyable part! You can design it yourself or locate one on the internet. Try Googling “guitar engraving designs” or “laser engraving designs” if you are unsure how to get started.
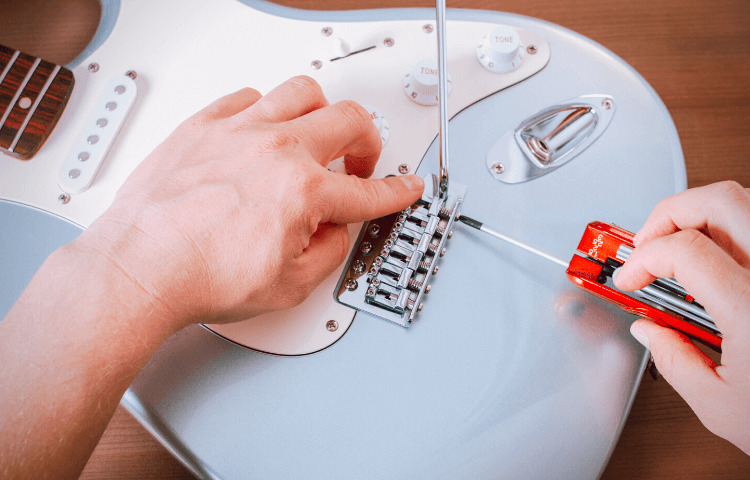
2. Prep your Guitar. You will need to prepare your guitar before beginning the engraving process. To begin, take some painter’s tape and cover any places you don’t want to be engraved with it. After that, wipe the body of your instrument off with some isopropyl alcohol to remove any dust or fingerprints that may have accumulated.
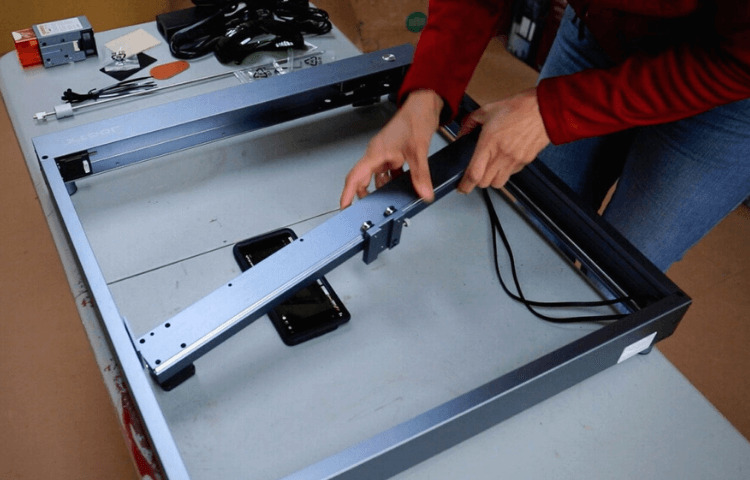
3. Start up your Engraving Machine and adjust the Settings. For step-by-step instructions on properly setting up your engraving machine, please refer to the handbook that came with it. You will be required to put your design into the machine and adjust the power, speed, and focus parameters.
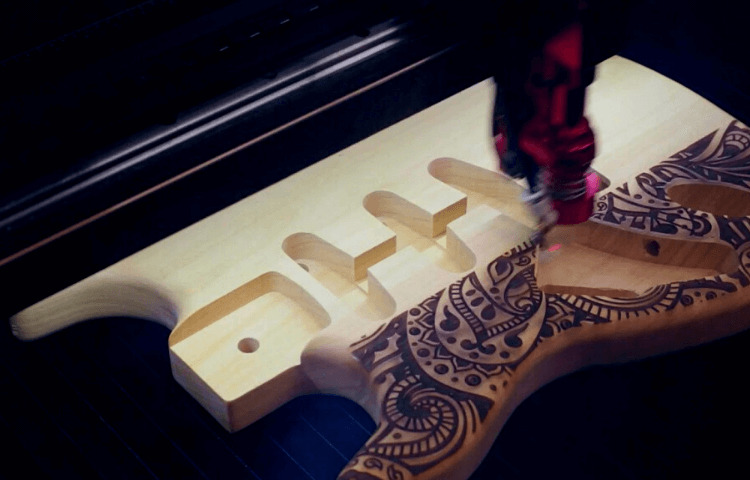
4. Start Engraving! Move your guitar through the engraving machine, ensuring it remains level and stable. To produce a clean engraving, you may need to go over the design more than once if it is complicated.
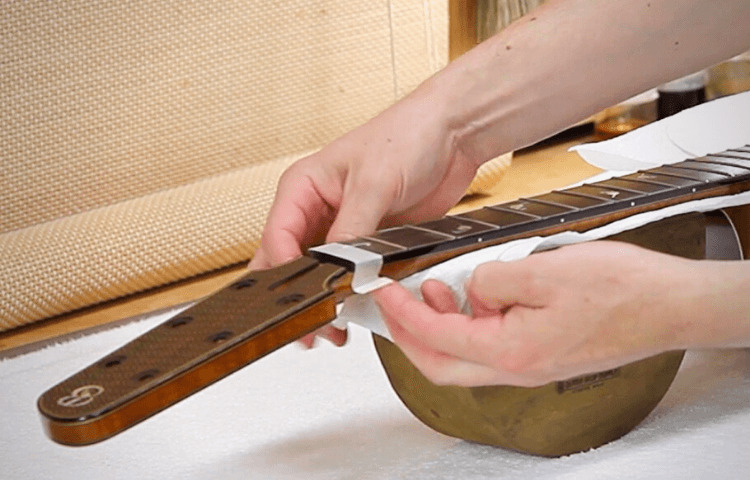
5. Take off the tape, and Congratulate Yourself on a Job well Done! Remove the painter’s tape from your instrument when you are through with the engraving. And that wraps things up! You may now play an utterly unique guitar that was et a laser.
And with that, you now have your guitar customized just for you!
How to Engrave a Guitar Pick?
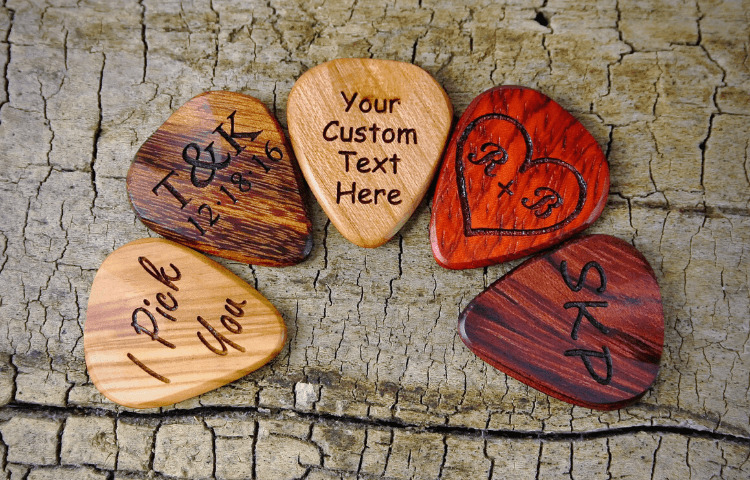
Engraving is an excellent choice if you seek a novel approach to customizing your guitar picks. You can engrave virtually any pattern onto a selection so long as you have a few essential tools and some fundamental carving abilities under your belt.
Utilizing a hand-held rotary tool, such as a Dremel, is one of the most common approaches to engraving guitar picks. Because of the nature of this sort of tool, it is possible to cut away at the substance of choice with relative ease, making it simple to fashion intricate patterns. If you have never used a rotary tool before, it is strongly recommended that you get the hang of it by first practicing on some scrap material.
Utilizing a laser cutter is just another method that may be used when engraving guitar picks. This approach is fantastic for developing intricate patterns or producing several identical duplicates in the same way. If you do not have access to a laser cutter, another option for creating your design is using a stencil with some sandpaper.
After deciding what type of engraving you want, it is time to create your pick. If you aren’t sure what kind of design you want for your project, you might try searching online for some ideas to get you started. When you have an idea of what you want the pick to look like, you may use a pencil or another tracing tool to replicate the pattern onto the selection.
After your design has been successfully transferred onto the pick, it is time to begin the engraving process. If you use a rotary tool, start with a tiny bit, and as you work your way through the material, progressively increase the size of the bit. When using a laser cutter, it is imperative that you adhere to the safety guidelines provided by the machine’s manufacturer.
After you have completed engraving your pattern, it is time to add some color. Painting the pick with acrylic paint or utilizing permanent markers are viable options for achieving this look. After coloring your choice, you may next varnish it with a clear coat to preserve the design.
Put your newfound knowledge to the test by designing something one-of-a-kind using your newly acquired ability to engrave a guitar pick.
Frequently Asked Questions:
Where to get a guitar engraved?
Several companies are available from which you may choose to get your guitar engraved. You can go to a local engraving shop or use an internet service.
What’s the best way to engrave a guitar?
There’s no single best way to engrave a guitar – it all depends on your creative vision and the look you’re going for.
Conclusion:
So there you have it! Now that you know how to engrave a guitar with a laser, you can get started on your projects. Experiment with different designs and materials to find the perfect look for your guitar. With a bit of practice, you’ll be able to create unique works of art that will impress your friends and family.

